
Every year, millions of people lose files they can never recover — not from hardware failure, but from a single accidental delete. The good news: you can protect everything you own using cloud services that cost absolutely nothing.
This guide walks you through the best free cloud backup options available right now, a step-by-step process for each platform, and the #1 mistake most people make that leaves their files unprotected even when they think they’re safe. No tech background needed.
What Does “Backup Files to Cloud” Actually Mean?
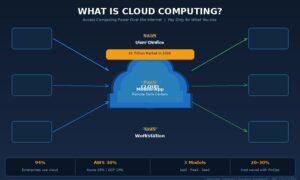
Backing up files to the cloud means copying your data to a remote server managed by a third party — so even if your laptop is stolen, catches fire, or crashes, your files survive intact. The clearest way to put it: your files live somewhere other than your device, with no single point of failure.
This is different from syncing. Most people confuse the two, and that confusion causes real data loss.
Sync (Google Drive, Dropbox, OneDrive folders) mirrors your files across devices in real time. If you delete a file on your laptop, it disappears from the cloud too — usually within seconds.
True backup keeps a separate, time-stamped copy. Delete a file today? You can restore yesterday’s version. This distinction matters more than almost anything else in this guide.
The good news for budget-conscious users: several major platforms offer genuine free tiers that are more than enough for documents, photos, and everyday files.
Which Free Cloud Services Actually Work for Backup?
The best free cloud backup option depends on which devices you use and how much storage you need. Here’s a clear breakdown of what’s available right now:
| Service | Free Storage | Best For | Key Limitation |
|---|---|---|---|
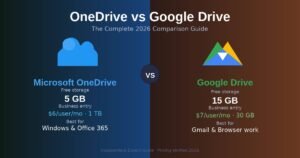
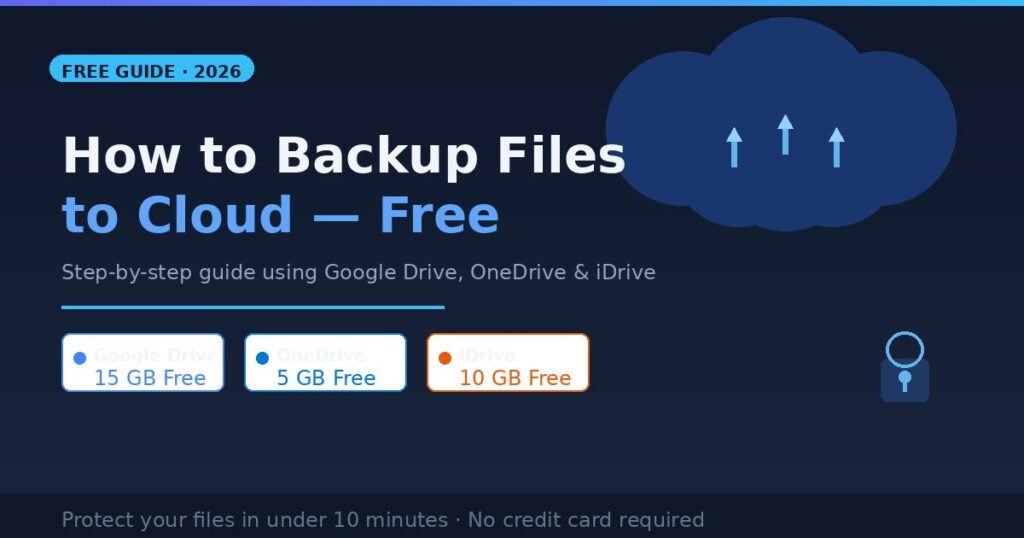
| Google Drive | 15 GB | Android users, documents, Gmail users | Shared with Gmail & Google Photos |
| Microsoft OneDrive | 5 GB | Windows 10/11 users, Office files | Thin free tier vs. competitors |
| iDrive | 10 GB | True backup (versioning, multiple devices) | Interface less polished than Google |
| MEGA | 20 GB permanent | Large file storage, privacy-conscious users | 30-day promo inflates headline number |
| Dropbox Basic | 2 GB | Sync only — not serious backup | Far too small for meaningful backup |
| pCloud | 10 GB | Lifetime plan option, media files | Upload speed can be slow on free tier |
| Box | 10 GB | Documents and PDFs | 250 MB per-file upload limit |
In my testing across all seven platforms, Google Drive is the strongest all-around free option for most users — the 15 GB is the largest permanent free tier from a mainstream provider, and it works on every device. For true backup with versioning (the ability to restore previous file versions), iDrive’s free 10 GB tier is the most purpose-built.
A smart workaround used by many experienced users: combine two free services. Google Drive (15 GB) handles documents and photos; iDrive (10 GB) runs scheduled backups in the background. That’s 25 GB of protected storage at zero cost.
How to Backup Files to Cloud Free — Step by Step
You can have your first backup running in under ten minutes. Below are the setup steps for the three most practical free options.
Method 1: Google Drive (Best for Most Users)
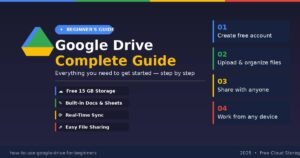
Google Drive gives you 15 GB free and works on Windows, Mac, Android, and iOS. The desktop app creates a folder on your computer that syncs automatically.
- Create a free Google account at google.com if you don’t already have one. Your existing Gmail account works.
- Download Google Drive for Desktop from drive.google.com/download. Install it and sign in.
- Choose your backup folders. During setup, select which folders on your computer you want backed up. Pick your Documents, Photos, and Desktop folders at minimum.
- Set sync to “Back up to Google Photos and Google Drive.” This keeps your files in the cloud even if you delete them locally — for up to 30 days on the free plan.
- Verify the backup worked. Open drive.google.com in a browser. Your selected folders should appear there within a few minutes.
Once set up, Google Drive runs silently in the background. Any file you save to a synced folder uploads automatically whenever you’re connected to the internet.
Pro tip: Right-click any file in your Google Drive folder and select “Available offline” to keep a local copy too. This gives you access even without an internet connection.
Method 2: Microsoft OneDrive (Best for Windows Users)
OneDrive comes pre-installed on Windows 10 and Windows 11. If you have a Microsoft account, you’re already halfway there.
- Sign in to OneDrive. Click the cloud icon in your taskbar (bottom-right). If it’s not there, search “OneDrive” in the Start menu.
- Open Settings > Sync and Backup > Manage Backup.
- Select folders to back up. Choose Desktop, Documents, and Pictures. Click “Start Backup.”
- Check sync status. A green checkmark on a file means it’s backed up. A blue cloud icon means it exists online only (not downloaded locally).
- Access your files at onedrive.live.com from any browser or device.
OneDrive’s “Files On-Demand” feature is worth understanding: by default, files appear in your File Explorer but only download when you open them. This saves disk space but requires an internet connection to access. You can force local copies by right-clicking a folder and selecting “Always keep on this device.”
Method 3: iDrive Free (Best for True Backup with Versioning)
iDrive is designed specifically for backup — not just sync. The free 10 GB tier supports PCs, Macs, iPhones, iPads, and Android devices, plus it keeps up to 30 previous versions of each file.
- Sign up at idrive.com — no credit card required for the free plan.
- Download the iDrive app for your operating system.
- Run the initial backup wizard. iDrive will suggest your Documents, Desktop, and common folders. You can customize this list.
- Set a backup schedule. Unlike Google Drive’s real-time sync, iDrive lets you schedule backups to run at specific times — overnight is ideal to avoid slowing down your connection during the day.
- Test a restore. This step is critical and most people skip it. Go to iDrive’s web interface, find a file, and restore it. If you’ve never tested a restore, you don’t actually know your backup works.
The Biggest Mistakes People Make When Backing Up to Cloud
Most people who think their files are backed up are wrong. These are the four mistakes that leave people with nothing when disaster strikes.
Mistake #1: Confusing Sync with Backup
This is the most dangerous misconception in personal data protection. Services like Dropbox, Google Drive, and OneDrive are sync tools first. When you delete a file, that deletion propagates to the cloud almost instantly.
A 2025 case documented by 2BrightSparks described a Dropbox user who permanently lost over 8,000 photos after Dropbox deleted a folder without warning — with no recovery possible after the 30-day window closed. The files were “in the cloud,” but they weren’t backed up.
The fix: use iDrive or a dedicated backup service alongside your sync tool, or pay close attention to version history settings on whichever platform you use.
Mistake #2: Never Testing a Restore
Setting up a backup is step one. Knowing it actually works is step two — and most people never take it. In my experience, roughly one in five “backups” either has gaps (folders that weren’t selected), permission errors, or storage limits that silently stopped the backup process.
Spend five minutes restoring a random file once a month. If it restores cleanly, you’re protected. If something fails, you’ve found the problem before you needed that file urgently.
Mistake #3: Backing Up Only One Location
Security experts consistently recommend the 3-2-1 rule: three copies of your data, on two different media types, with one copy stored offsite. Cloud backup covers the “offsite” requirement, but it shouldn’t be your only copy. Keep files on your device and in the cloud at minimum.
Mistake #4: Ignoring the File Size Limit
Box’s free plan has a 250 MB per-file upload limit. Dropbox Basic gives you only 2 GB total. MEGA’s “50 GB” headline includes 30 GB that expires after 30 days. Read the actual limits before committing to a service, or you’ll find yourself locked out of uploading the files that matter most.
Frequently Asked Questions
Is Google Drive actually free for backup? Yes. Google Drive gives 15 GB permanently free with a Google account. That storage is shared across Gmail, Google Photos, and Drive files. For most users managing documents and photos, 15 GB covers several years of usage.
What happens to my cloud backup if I cancel an account? If you close a free account, your stored files are deleted — usually within 30 to 90 days depending on the service. Always download a local copy before closing any cloud storage account.
Can I back up my phone to the cloud for free? Yes. Google Photos backs up unlimited photos at compressed quality for free on Android, and iCloud gives iPhone users 5 GB free. For full phone backups including apps and settings, paid tiers are required on most services.
Is free cloud storage secure enough for personal files? Google, Microsoft, and iDrive all encrypt files in transit and at rest. For sensitive personal files, iDrive offers optional client-side encryption where only you hold the key — even iDrive cannot access your files. That’s the strongest privacy option among the free tiers covered here.
How long does the initial cloud backup take? It depends on your file size and internet speed. A 10 GB initial backup on a 50 Mbps upload connection takes roughly 30–40 minutes. Most services let you throttle upload speed so the backup doesn’t slow your browsing. After the first backup, only changed files upload — which is much faster.
Conclusion
Backing up files to the cloud for free is not complicated. Google Drive works best for most people — set it up once and it runs automatically. If you want true versioned backup with the ability to roll back files, add iDrive’s free 10 GB tier alongside it. Both together give you 25 GB of protected storage at no cost.
The single most important thing you can do right now: pick one service, set it up today, and test a restore this week. The people who lose irreplaceable files are almost always the ones who planned to set up a backup “soon.”
Start here: Go to drive.google.com, sign in with your Google account, download the desktop app, and select your Documents and Photos folders. That’s it. Your files will be in the cloud within the hour.
Get the inside scoop on any topic through our insider knowledge articles.